Today I’m going to share a very simple, yet powerful sequence with you.
One that you can do anytime you feel stressed, anxious, or on a daily or weekly basis to help calm your Nervous System and regulate chronic anxiety and stress.
Yes, this sequence is so simple that only one pose is included. And, it’s only 10 minutes long. Yes, 10 minutes!
You see, a few weeks ago I wrote about the fact that forcing ourselves into stillness can cause too much resistance, frustration, and yes, even more anxiety.
I mentioned how moving the body before attempting to be still helps to shake off restlessness and ease tension from the body and mind, and makes being still a lot easier and less frustrating.
Has this ever happened to you during Corpse pose (Savasana), or at the beginning of a yoga class when the teacher asks you to lie still and notice your breath?
The reality is that for someone dealing with anxiety, panic disorders, trauma, etc., being still can be quite the challenge.
This is why it’s important for us to learn how to gradually (keyword here is gradually) bring ourselves into stillness.
For instance…
The first thing you want to do is move the body to help shake off restlessness. Right? You can achieve this through a gentle moving sequence, or even some vigorous Vinyasa.
You can also go for a walk, run, dance to your favorite song, make knees circles, etc. So it doesn’t even have to be yoga.
Now, the next step down the path of stillness is to hold active poses like warriors and lunges. These poses move our energy down towards the hips, legs, and feet and help us feel calm, grounded, and more connected to the earth.
After you’ve moved the body and practiced grounding standing poses, you can then start to explore stillness and deep relaxation with restorative yoga.
Restorative yoga helps trigger the relaxation response and brings us closer into stillness.
But wait, not so fast…
Before you go into restorative poses, there’s actually a little bridge that you need to cross. One that’s going to help you find stillness even faster.
This is the bridge that takes you from the more active part of your practice (sympathetic mode) into the more “chill” part of your practice (Parasympathetic mode).
That bridge is…(drum roll please)
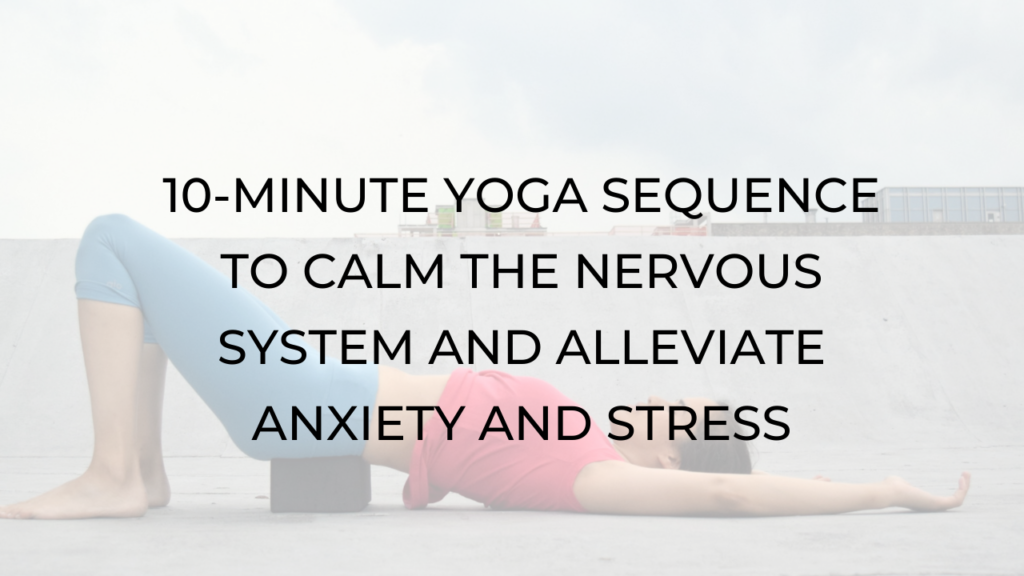
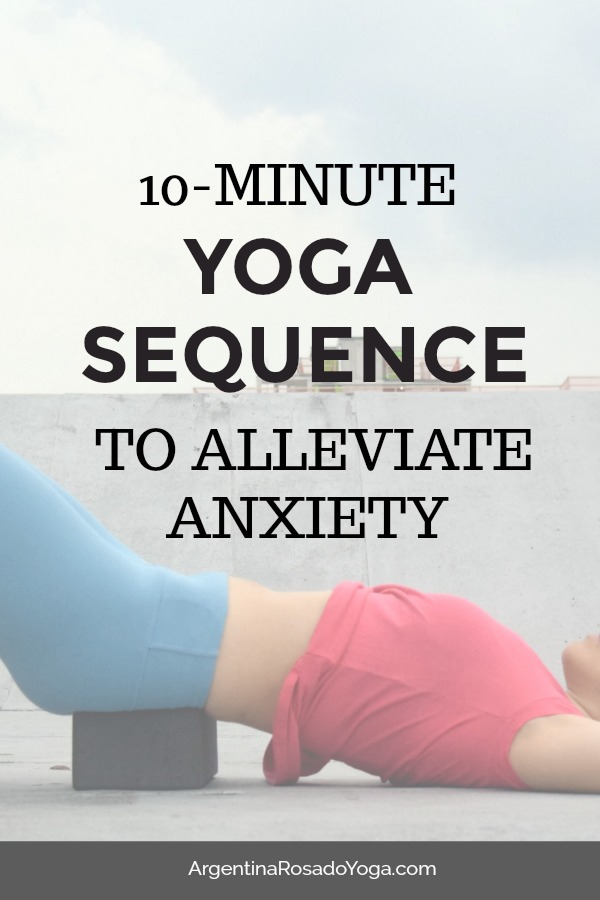
Bridge pose!!!
Restorative bridge, that is.
My teacher calls restorative bridge “highway to heaven.”
Of course, I agree.
She’s always telling me how bridge pose helps her daughter, who suffers from panic attacks and insomnia, find relaxation before sleep. It’s also the pose she uses to transition into restorative poses during her “flow & restore” classes.
I personally use restorative bridge pose with clients who have trouble lying still in savasana (corpse pose). It really helps calm them down and find relaxation.
Restorative bridge can be useful:
Before Savasana, or instead of Savasana.
Before bed to relax and calm you down.
At the beginning of class when the teacher asks you to start on your back. As you may know, lying on your back can be challenging for someone with shortness of breath so restorative bridge pose can be used instead.
Before your meditation practice
Now, without further ado, let me introduce you to the Bridge Pose sequence. This wonderful practice includes breathwork, visualization, gentle movement, and stillness all into one.
Let’s do it:
1. Begin with Rolling Bridges
We’ll start with rolling bridges in order to shake off the restlessness. (movement first, remember?)
To begin, lie down on your back
Bend your knees and place the soles of the feet on the ground and parallel (ankles under knees).
Spread the arms down by the sides with your palms facing down.
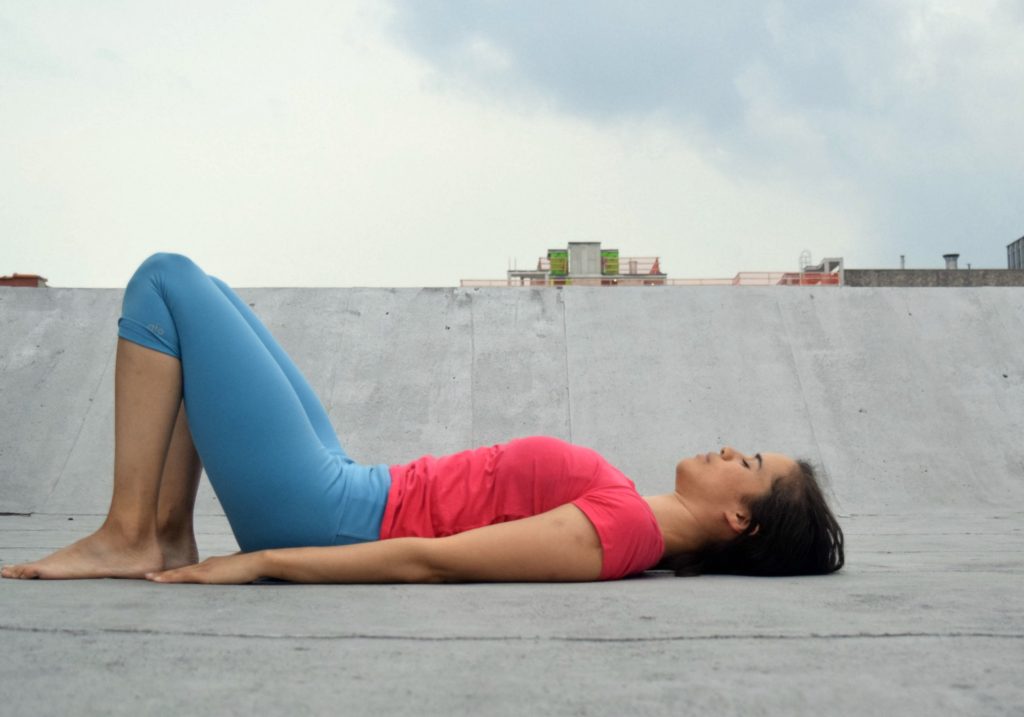
Now, as you inhale, lift your hips up towards the ceiling and your arms up and over your head (towards the back of the room)
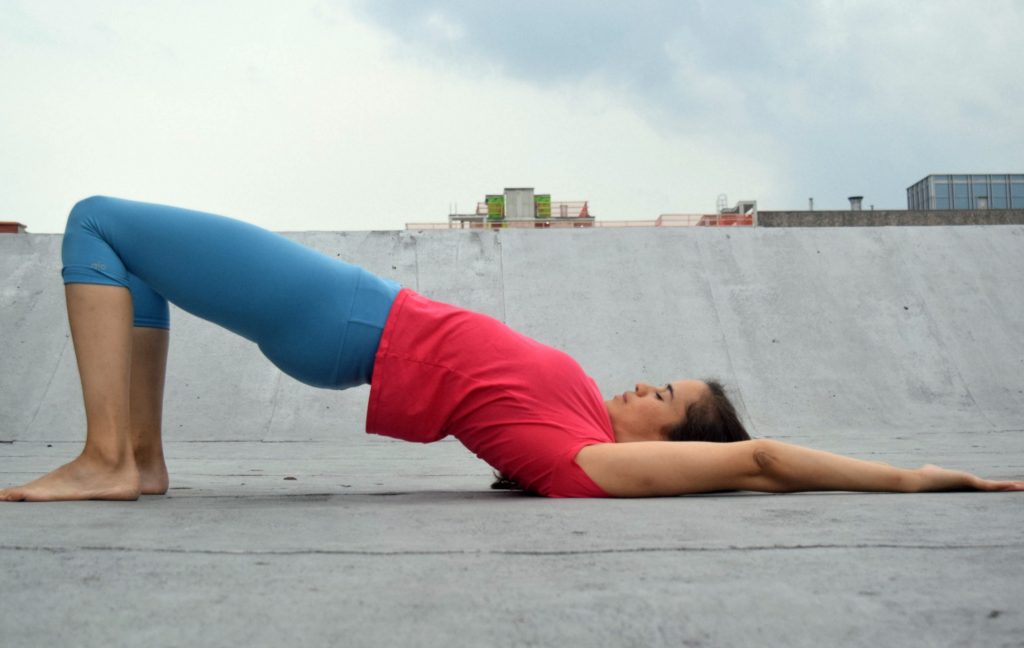
As you exhale, lower the hips back down and lower the arms down by the sides.
Complete 5-10 rounds.

2. Restorative Bridge Pose
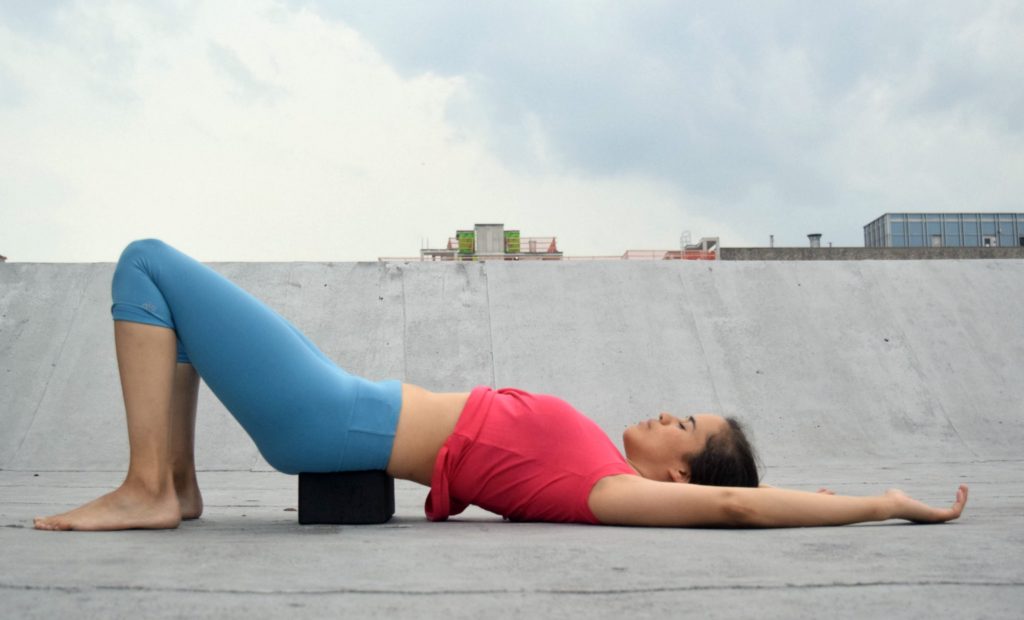
Lift your hips and place a block under your sacrum (the flat, triangular area at the very end of your spine).
If you don’t have a block, you can use hardcover books covered with a blanket, or a firm pillow.
Close the eyes and let the arms rest down by the sides.
3. Add a breathing visual.

Stay in Restorative Bridge pose and visualize a beach at night. The dark blue sky, the sound of the waves, the moonlight, etc.
On an inhale, visualize a wave rolling towards the shore.
On the exhale, visualize the wave breaking as it gets closer to shore.
Keep the breathing visual for a few rounds of breath., and stay in the pose for 3-5 minutes, or as long as needed.
4. Practice breath awareness and three-part breath.
a. Breath Awareness
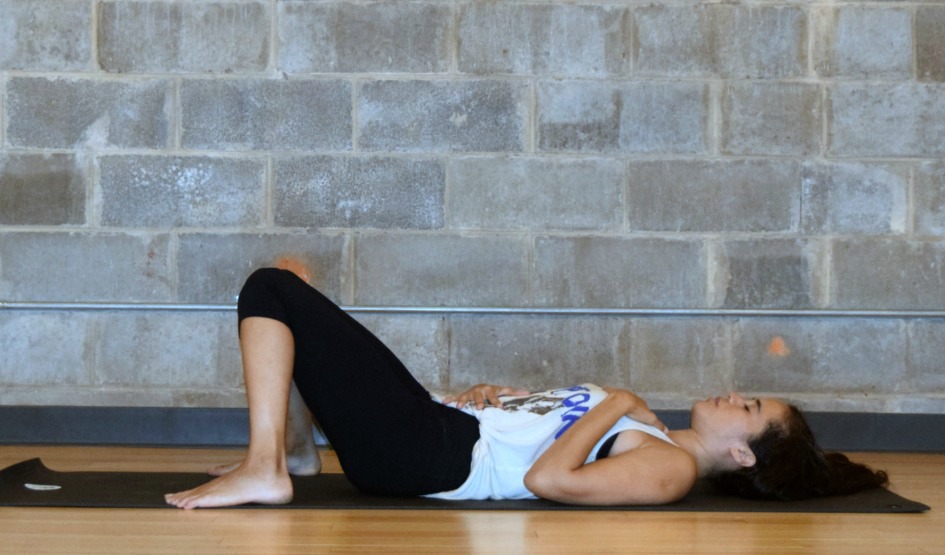
Remove the block from underneath and separate your feet as wide as the mat and bring the knees to touch. Place one hand on your belly and one hand on your chest. Close your eyes.
For this practice there is no manipulation of the breath. Bring your awareness to your belly, chest, or nostril area, and without changing the rhythm or quality of your breathing, observe your inhales and exhales.
It’s important not to try and change your breathing pattern. Simply observe. Naturally, you may get distracted and your mind will wander. It’s okay. This is a practice of active concentration and the more you do it, the easier it becomes. Active concentration (also known as Dharana) eventually leads to effortless concentration (also known as Dhyana or meditative state).
b. Three-part breath.
This form of breathing is pacifying and calming and best practiced before sleep and for easing anxiety. Begin by taking a full deep breath (full inhale and full exhale), then take a long inhale, hold it at the top as long as it is comfortable, then exhale one third of the way (pause), another third (pause), for the last third, empty out the breath completely, and pause at the bottom of the breath.
Notice that sweet moment after the exhale when everything is blissful and perfect. Follow with a full deep breath (recovery breath), then begin another round of Krama breath. Complete 5-10 rounds.
Rest in stillness for as long as needed
