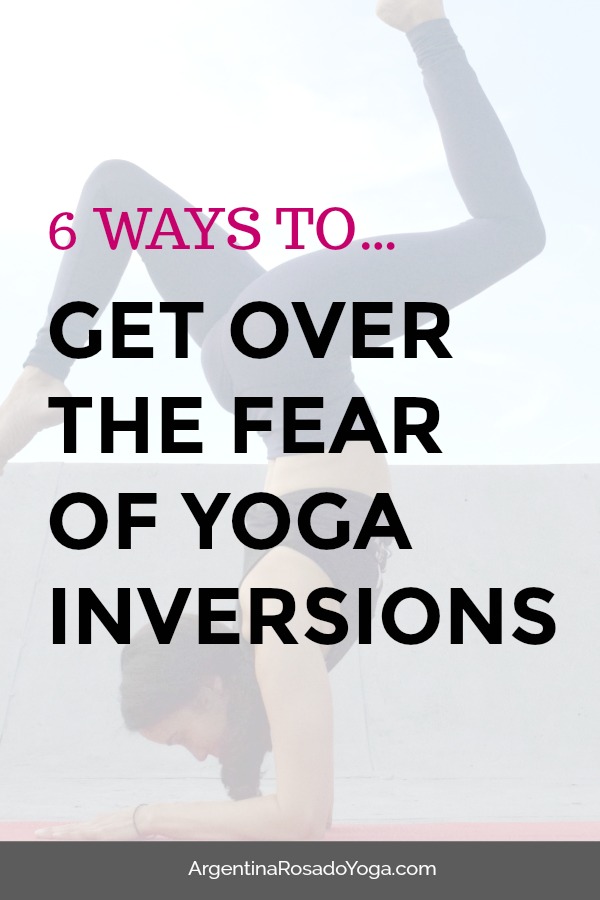
How often do you hesitate when the teacher calls out an inversion in a yoga class? If the answer is often, then you’re not alone. Even the most seasoned practitioners feel some level of fear self-doubt when they go upside down.
When I was learning to do headstand, I would always, always, always hesitate coming up. I somehow had built the idea that if I fell, I would literally break my neck. For a long time, headstands were my biggest fear in yoga.

One day I actually tried the pose, and as you might have guessed, I actually fell over. The fear of breaking my neck didn’t come true and I kept going with my practice. The falling continued after that of course, but so did the learning. My fear of headstands eventually stopped but then, it was time to learn a new pose…You see, this is how we actually learn and grow. We “feel the fear, but we do it anyway.”
When it comes to yoga inversions, not only do we fear failure, but we often also fear success.
If we fall, we fear embarrassment
If we fall, we fear getting injured
If we don’t fall and our pose looks spot on good, we fear judgement from others
And the list goes on…
This past month, I got the opportunity to teach inversion classes at my local studio. Every month, the studio chooses a specific pose to work on and October was all about Headstand (a.k.a. Sirsasana).
Throughout the month, we worked on all the major components necessary to achieve the pose. Classes were infused with preparatory poses to help build shoulder and core strength among other components.
We practiced similar poses like forearm stand and handstand since they share the same components and would also help prepare for headstand.
When it was time to practice the actual pose, I couldn’t help but notice the same fear and doubt I’m talking about here. I noticed hesitation and definitely a few falls.
I kept saying to my students “if you fell down, you’re practicing letting go of the fear, and that’s a major step.”
You see, fear will most likely always be there. It’s normal and you’re not alone. But when we learn to work with fear, instead of against it, we become empowered, we learn, and we grow. This is not only true in yoga inversions, but also in life.
Here’s the thing though, in order to overcome your fear of yoga inversions, you must practice, practice, practice.
The trick is, you must practice SAFELY!
Yoga inversions are not only empowering and strength-building, but they are also quite therapeutic. The health benefits are endless and there are yoga inversions for all levels of practitioners.
Here are four ways to keep your inversion practice safe, and fun.
1. Understand that failure is part of the process
The first thing you need to understand about yoga inversions is that falling is part of the learning process. Before you can learn to balance, you must be okay with falling. There is no other way. A baby will fall many, many times before it can learn to crawl, walk, or run. A salesman will get 100 NOs before making his first sale. It’s just how it is.
You need to accept falling as part of the process and make peace with it. Keep doing your practice without expectations or self-judgement. Be persistent, but patient. The pose will flourish at just the right time.
2. Build the necessary tools
The best way to keep your practice safe is to build the necessary tools before you even attempt the pose. For most inversions, this usually means:
Shoulder strength and flexibility
Wrist strength and flexibility (handstand)
Core strength
Hamstring flexibility
For example, a strong shoulder girdle will help keep you stable and minimize the risk of neck injury in headstand. Flexible hamstrings make it easier to kick up in forearm stand or handstand. This helps to minimize the risk of falling after kicking up with too much force.
3. Practice alignment at the wall
Once you’ve spent some time building up the tools in tip #2, you’re ready to start trying out the pose at the wall. Practice how to properly set up for the pose using the wall for safety. This way, you can actually focus on learning the proper setup and alignment without worrying about falling just yet.
Here are the steps for setting up for headstand.
If you’re more of a visual learner, check out this quick video showing the same steps below.
**Set up in hands and knees with shoulders stacked over the wrists, and hips stacked over the knees
** Bring your forearms to the floor so that your shoulders are right over the elbows
** Measure out the distance by grabbing opposite elbows
** Interlace your fingers so that your thumbs are pointing up and your palms are slightly facing each other
** Place the crown of your head in the space between your wrists so that your interlaced hands are supporting the back of your head.
** Think of how you would set up for sit-ups with your hands interlaced behind your head and your elbows wide. In headstand, your hands are in the same position, but the elbows hugged in towards each other and the crown of your head on the floor .
** Now, tuck the toes under, lift the knees and straighten the legs into dolphin pose.
**This is a good place to stop and practice pushing the floor away with your elbows so that the ears come away from the shoulders and your body weight is kept off your head.
**Once you learn to push the ground away with the elbows, start to walk the feet in towards your head, as much as you can.
**Start to lean the weight forward, you’ll notice you’re on your tiptoes and your feet are getting super light.
**Hug one knee into the chest, leaning the weight forward even more.
**The other foot will naturally come off the floor and both knees hug into the chest.
**This is a good place to stop and practice holding this little egg shape.
**Keep hugging the knees tightly and pushing the ground away.
**Hold your core strong and everything tight towards the center.
4. Practice AWAY from the wall
Once you’ve gone over your alignment at the wall, it’s time to take that leap of faith and practice AWAY from the wall. Practice the same steps above, but perhaps this time you start to come all the way up. You got this!
Again, the trick here is to keep it safe and fun. You want to check your environment and ensure it is safe, in case you fall.
Here’s what you can do:
Remove props out of the way (i.e. blocks, water bottles, any sharp objects…)
Check that there aren’t yoga students nearby. If you fall, you may knock them down if you’re too close to them.
Set up at the back of your yoga mat. This way, if you fall, you’ll land on soft surface, rather than on the floor which may be slippery.
If you can, find a softer surface like a carpeted floor or grass. It might be more challenging to actually balance here but it’ll give you more peace of mind if you know you’ll land on something softer.
There you have it. Remember to keep doing your practice, and all will be coming.


Awesome post!
I love me some hot yoga but have always been afraid to try the tough stuff like this. I always want the wall for support or to literally fall back into! Thank you for the post! You’ve given my confidence a boost!
That’s awesome! Keep doing your practice and build good strength. That way if you fall, your body will support you. Be careful doing inversions in hot yoga though. It can get slippery 🙂
I love this! My first few yoga lessons were intimidating but now I love it! Thanks for the tips!
OOOhhh I love this! I love doing yoga but inversions are definitely something I need to work on! Thanks for the tips 😀
Pingback: How To Do Crow Pose (Bakasana) - Step-by-Step Tutorial - Argentina Rosado Yoga